How to knit socks with 5 knitting needles for beginners?
Do you love warmth the way we love it? Then it's time to learn how to knit socks and quickly apply this knowledge in practice! You have at least 3 reasons to learn how to knit socks do it yourself.
- Handmade items are much prettier, warmer and more pleasant to wear.
- Hand-knitted socks will cost you much less than the finished product, because you have to spend only on yarn.
- Knitting is soothing and relaxing.
Have we convinced you that hand-knitted socks are cool? Then let's get down to business as soon as possible.
Oddly enough, the easiest way to knit socks is to use 5 knitting needles. However, do not be intimidated by so many tools: on 4 knitting needles we will dial loops, and the fifth knitting needle will be working. Next, we will tell you how to knit socks with knitting needles for beginners on 5 knitting needles step by step and demonstrate simple master class.
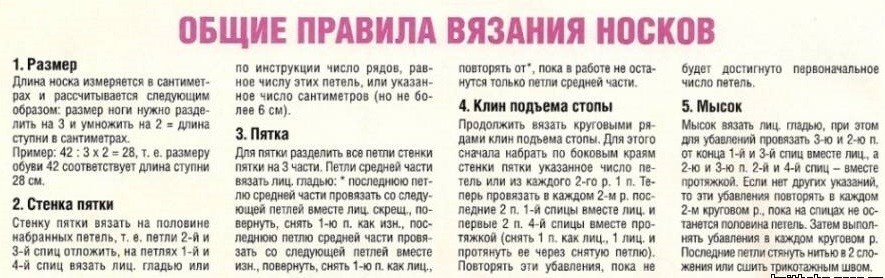
- The first thing we need to do is measure the leg in order to get the required number of loops. We will take measurements in two planes:
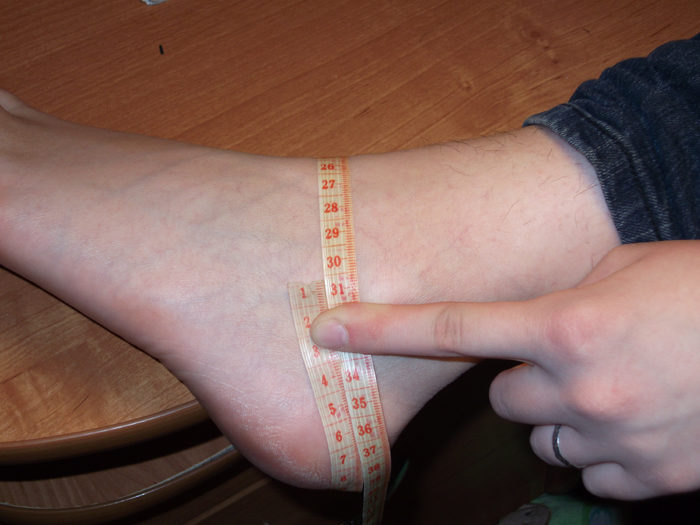
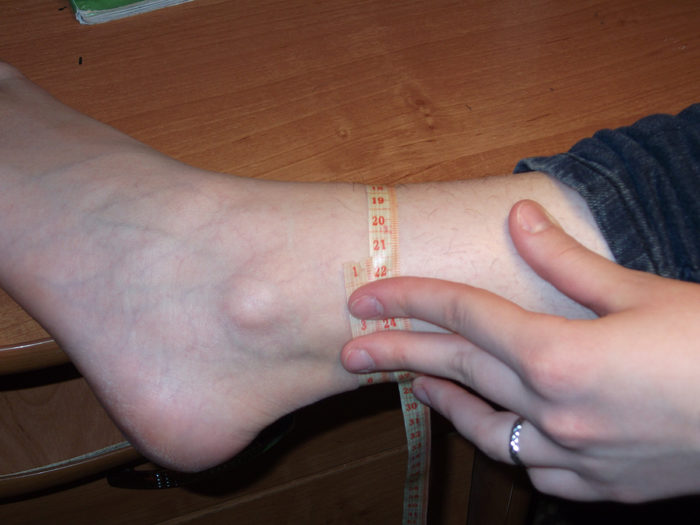
The average leg circumference is determined as follows: we find the sum of the two above-defined measurements (lifting circumference and leg circumference) and divide the resulting number by 2. For example, our first measurement will be 31 cm, and the second - 21. Then we add these two numbers and divide the sum by 2. As a result, it turns out 26 cm. We recommend to round the resulting number of centimeters by a multiple of 4. After all, it is for this length that we will collect the required number of loops, and distribute them to 4 knitting needles.
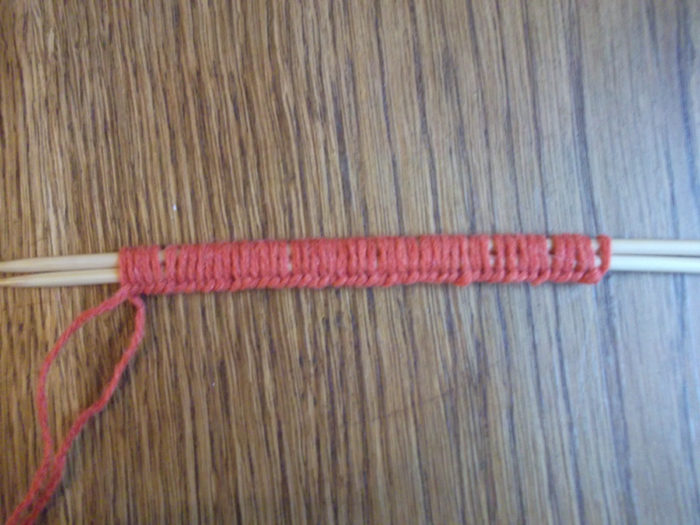
- We collect loops in the amount in which we have defined.
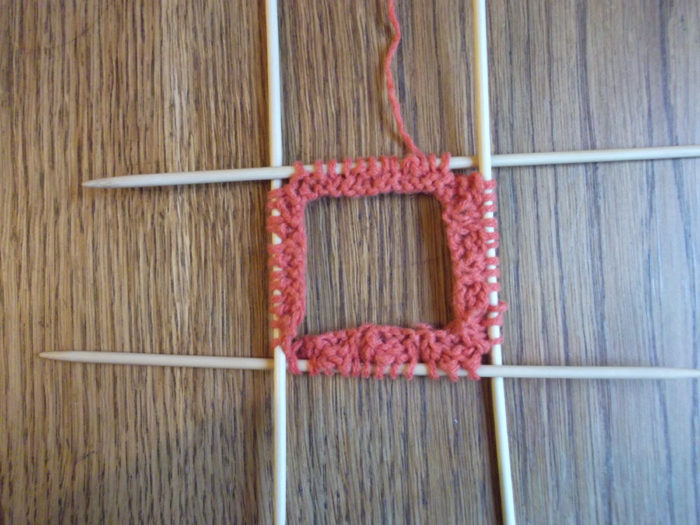
- Divide the loops evenly between 4 knitting needles and knit an elastic band. This will be the top of the sock, and we will move to the toe of our product, using circular knitting... This knitting method is suitable for both adults and children's socks. The socks are tight and neat, fit well on the leg.
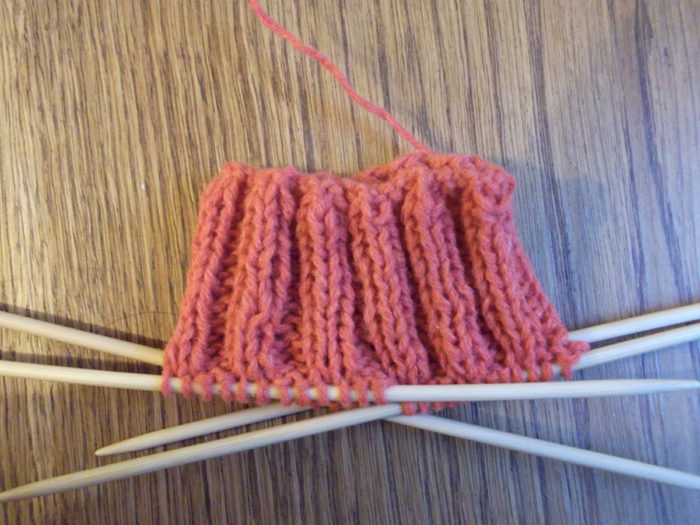
- The standard length of the upper elastic of the sock is on average 5-6 cm.

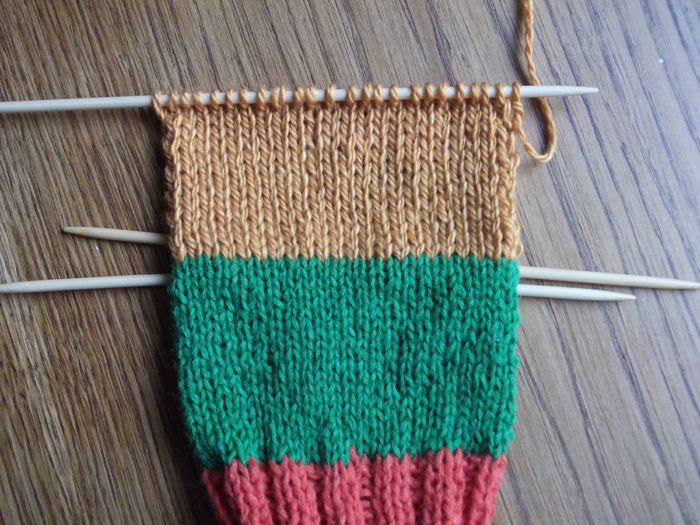
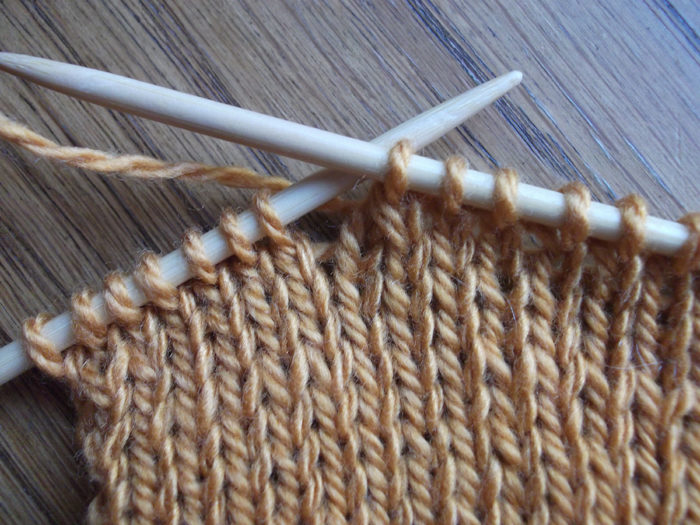
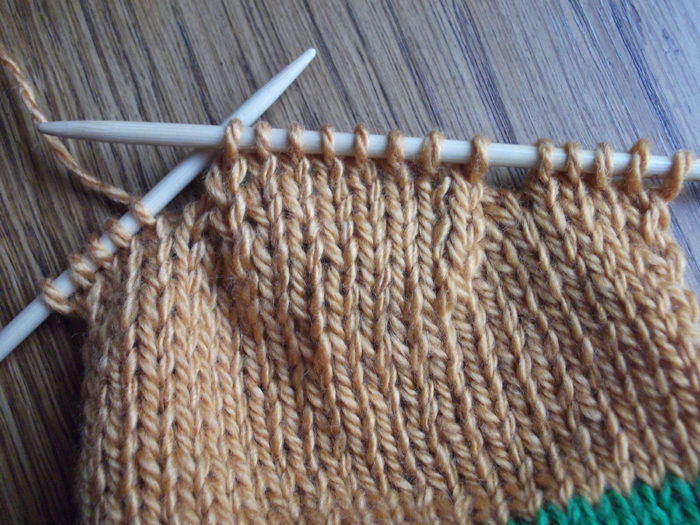
- After the elastic, you need to knit 7-8 cm with face loops, up to the heel. Knitting of the heel will be done with two loops, that is, when using half of the loops from the amount that we have typed.
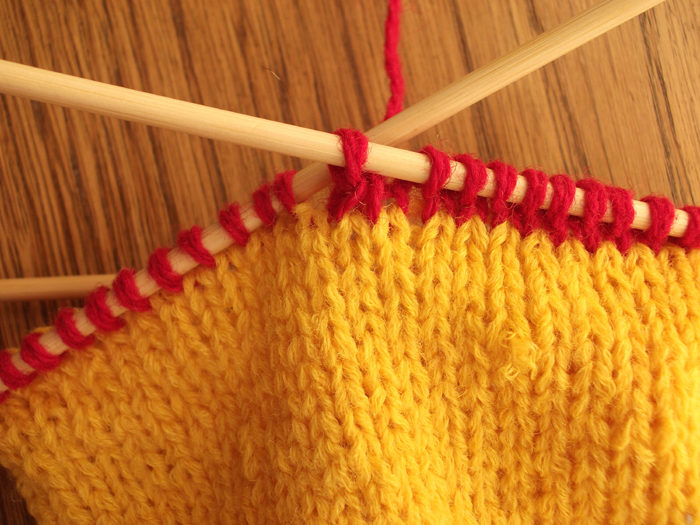
- Using the two knitting needles set aside for knitting the heel, knit with front loops 5.5-6 cm, which will be the height of the heel. This figure is unchanged for those with foot sizes 35 and over.
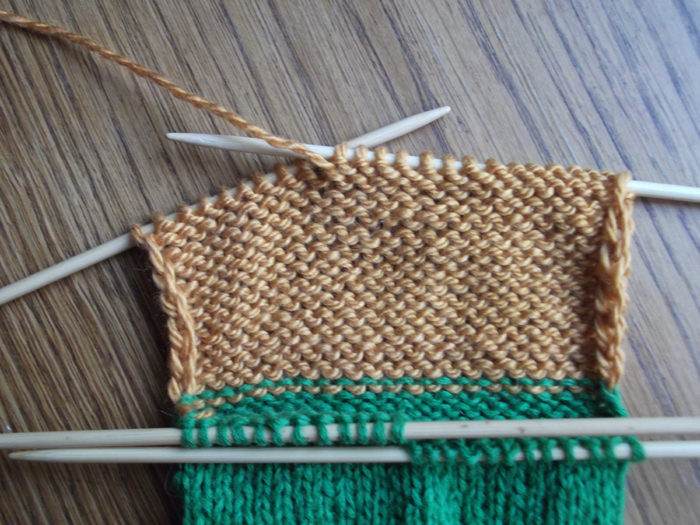
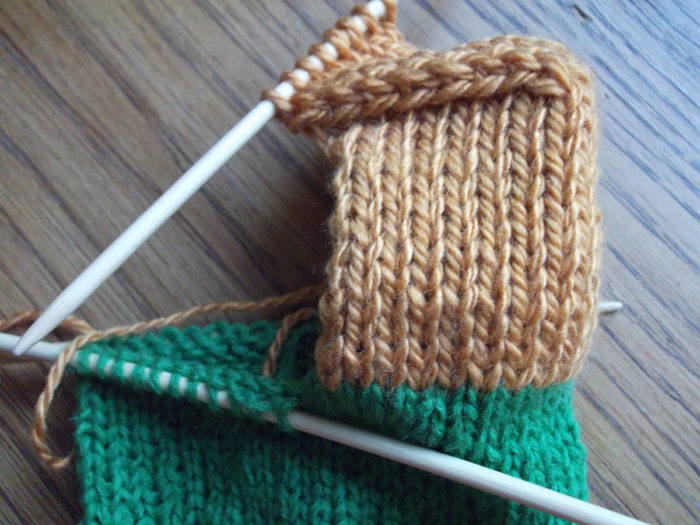
- The next step is to give our heel the desired shape. To do this, we make a heel descent by dividing the loops into 3 equal parts. We send the excess loops to the central part, and the loops located on the sides are gradually knitted together with the central loops. Thus, we we form the sides of the heel. You can consider more detailed instructions on knitting a heel in the article further.
- We lower the loops from the seamy side and finish the descent from the front. We knit 2/3 loops with purl loops.
- We knit 2 loops together: among them there will be the last loop of the central part and the first loop of our third part. It is these loops that we knit together with the purl.
- We turn the work and knit the front side of the heel, removing the first loop. We will not knit it. The subsequent knitting is carried out with facial loops, and at the very end we knit together the last loop of the central part and the first loop of the first part. This method is called broaching, when the first loop is removed, the second is knitted with the front one, and the removed loop is thrown onto the knitted one.
- We turn the work again and remove the first loop without knitting.
- We continue to knit according to the previous scenario, with front loops. We knit until all the side loops are closed.
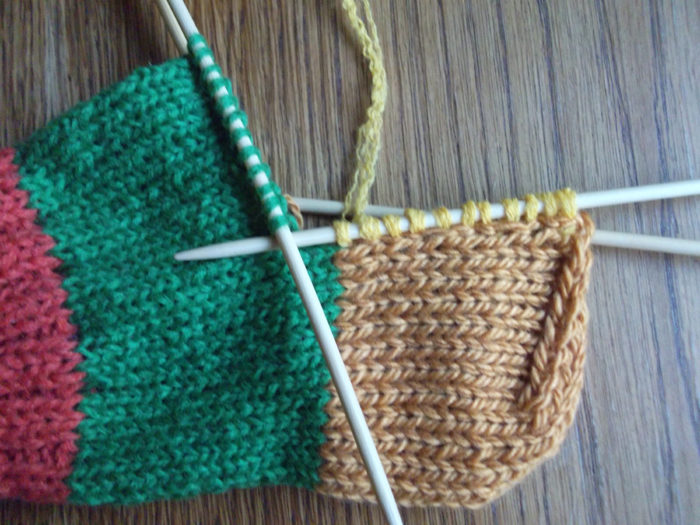
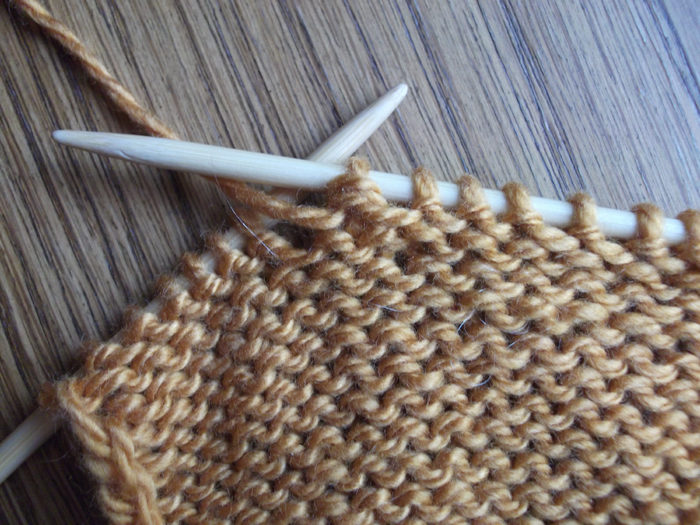
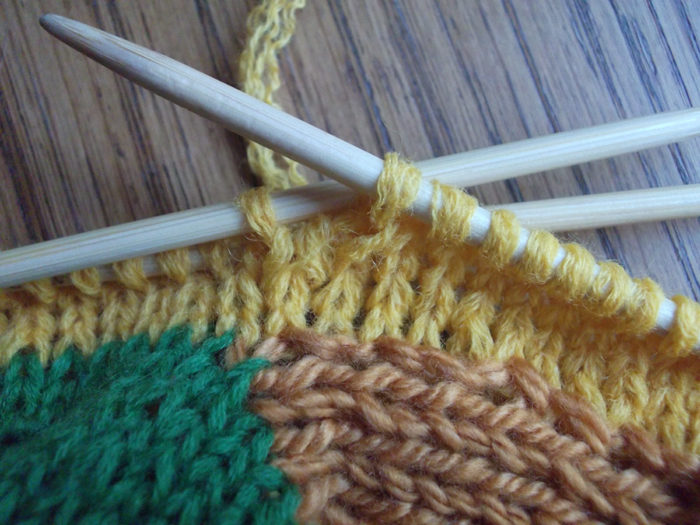
- We draw the loops from the side of the heel onto the knitting needle so that from each second row there is one loop and one additionally, that is, 3 loops from two rows.
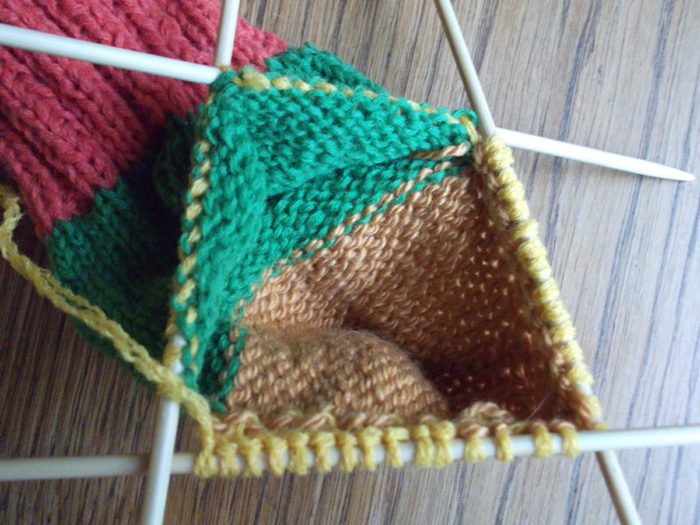
- We return to circular knitting, using loops from those knitting needles that we have not yet used. And also we take into work the loops from the sides of the heel and the loops of the central region of the heel. We make one row with knit stitch.
- In order for the sock to fit better to the heel, we knit every second circular row like this: the third and second stitches from the end are knitted together from the end of the first knitting needle with the front loop, as well as the second and third loops of the fourth knitting needle, are knitted together with a broach.
- Decrease the loops until we get the number of loops originally cast.
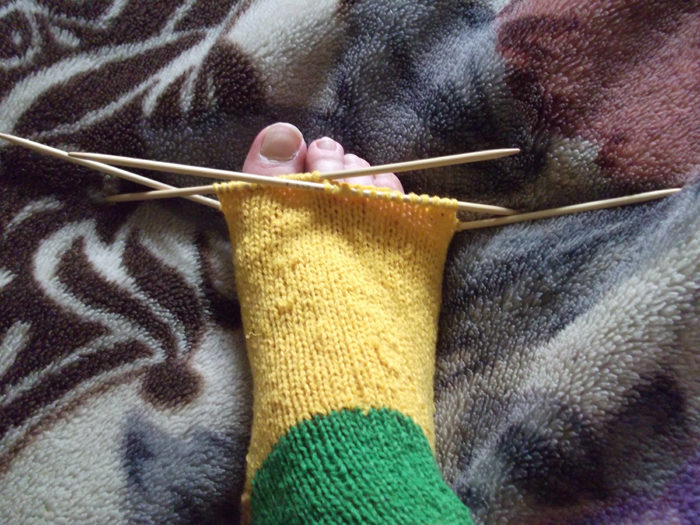
- We move on to knitting the foot (front knit in a circle). We tie it to the end of the little finger or to the bone of the thumb.
- Knitting of a toe of a sock. Decrease the loops according to the following scheme: in every second row, knit the third and second loops from the edge of the odd knitting needles with front loops (together). Similarly, we knit the second and third loops of the even knitting needles with a broach.
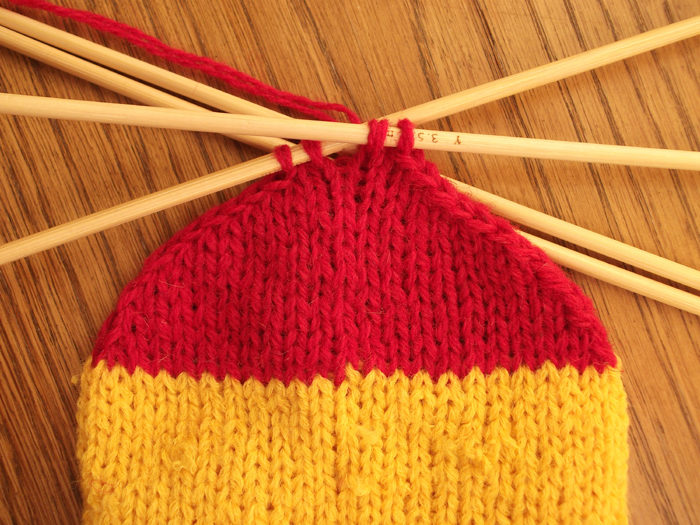
- After the number of loops reaches half, decreases begin in each circular row until there are only 4 loops on the needles.
- We tighten the loops with a thread and fasten.
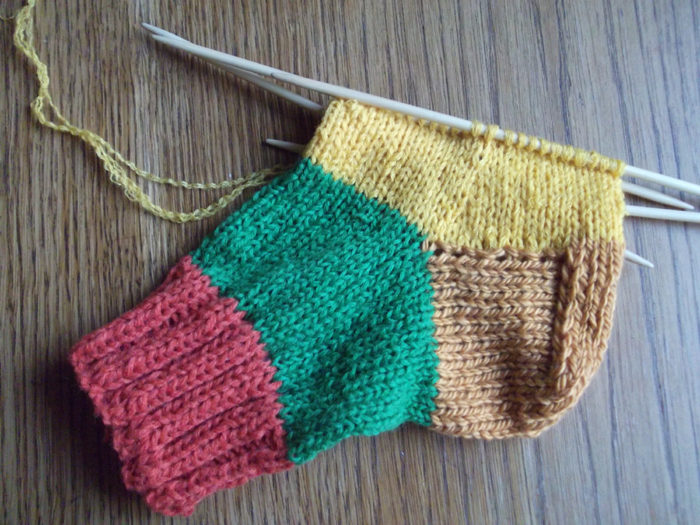
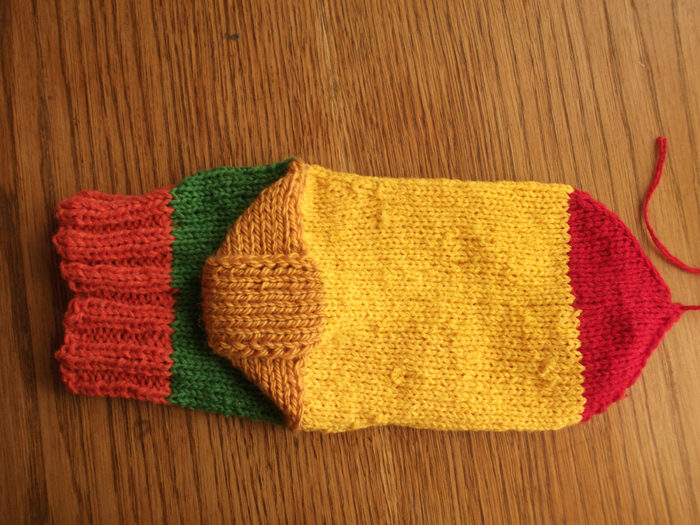
Here is such pretty quick and easy way to knit socks we showed you. For clarity, the creators of the master class used multi-colored yarn, so it turned out to be a rather funny version. You can use any color of thread or try patterned socks. Next, we will show you beautiful sock knitting patterns.
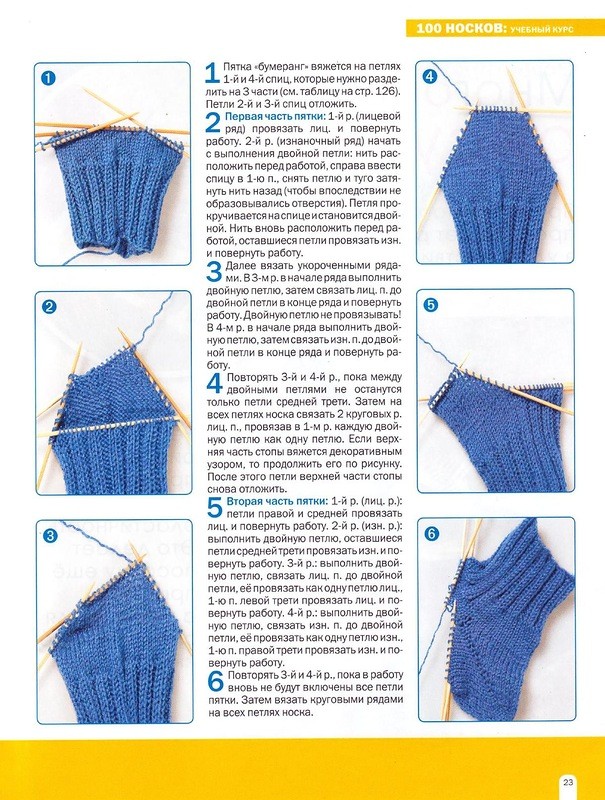
We already told you a little about knitting the heel in the previous section. I would like to dwell in more detail on how to knit the heel at the toe with knitting needles: you will find a detailed description in the photo with professional explanations and knitting patterns.
We knit socks for every taste: photo schemes of beautiful patterns
As promised, patterned sock patterns will help bring some color and creative harmony into your life. After all, socks are not such a boring wardrobe item.
Just look at how many varieties of socks you can knit with your own hands.
- Footprints

- Regular socks on two needles
- Fishnet socks
- Super soft sock with no seam
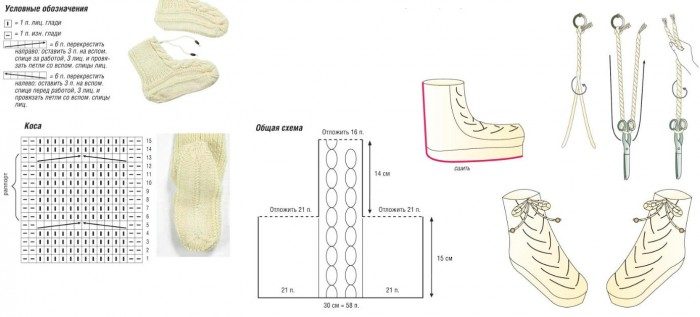
- Pigtail socks
- Socks or
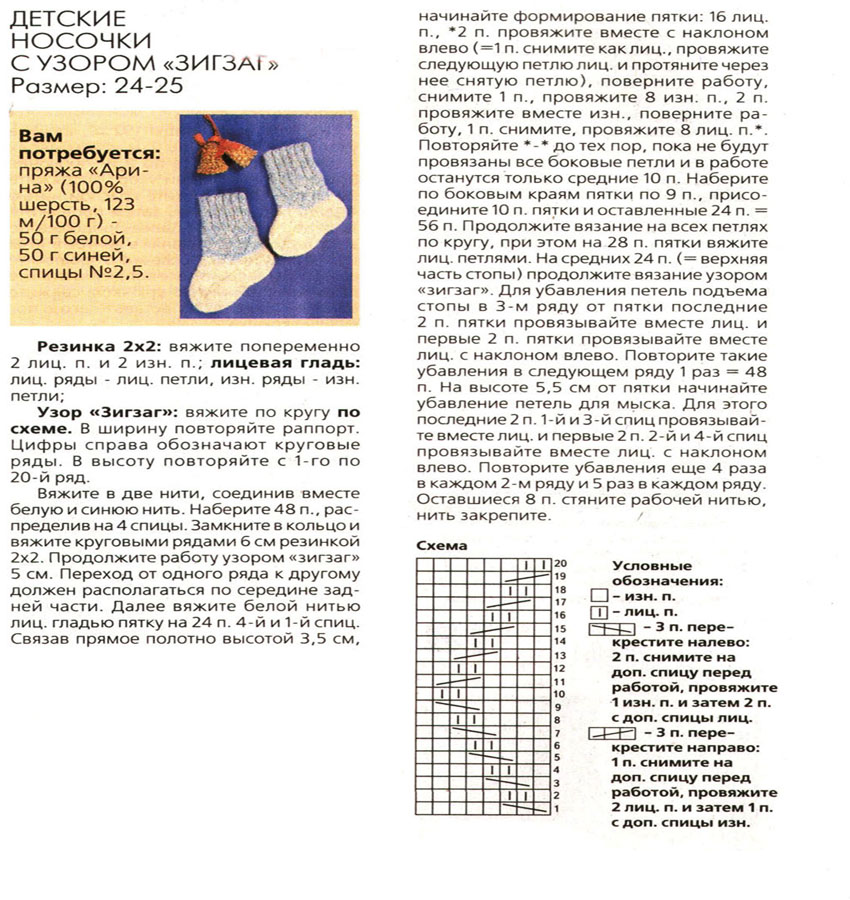
- Socks for babies 1 year old and older
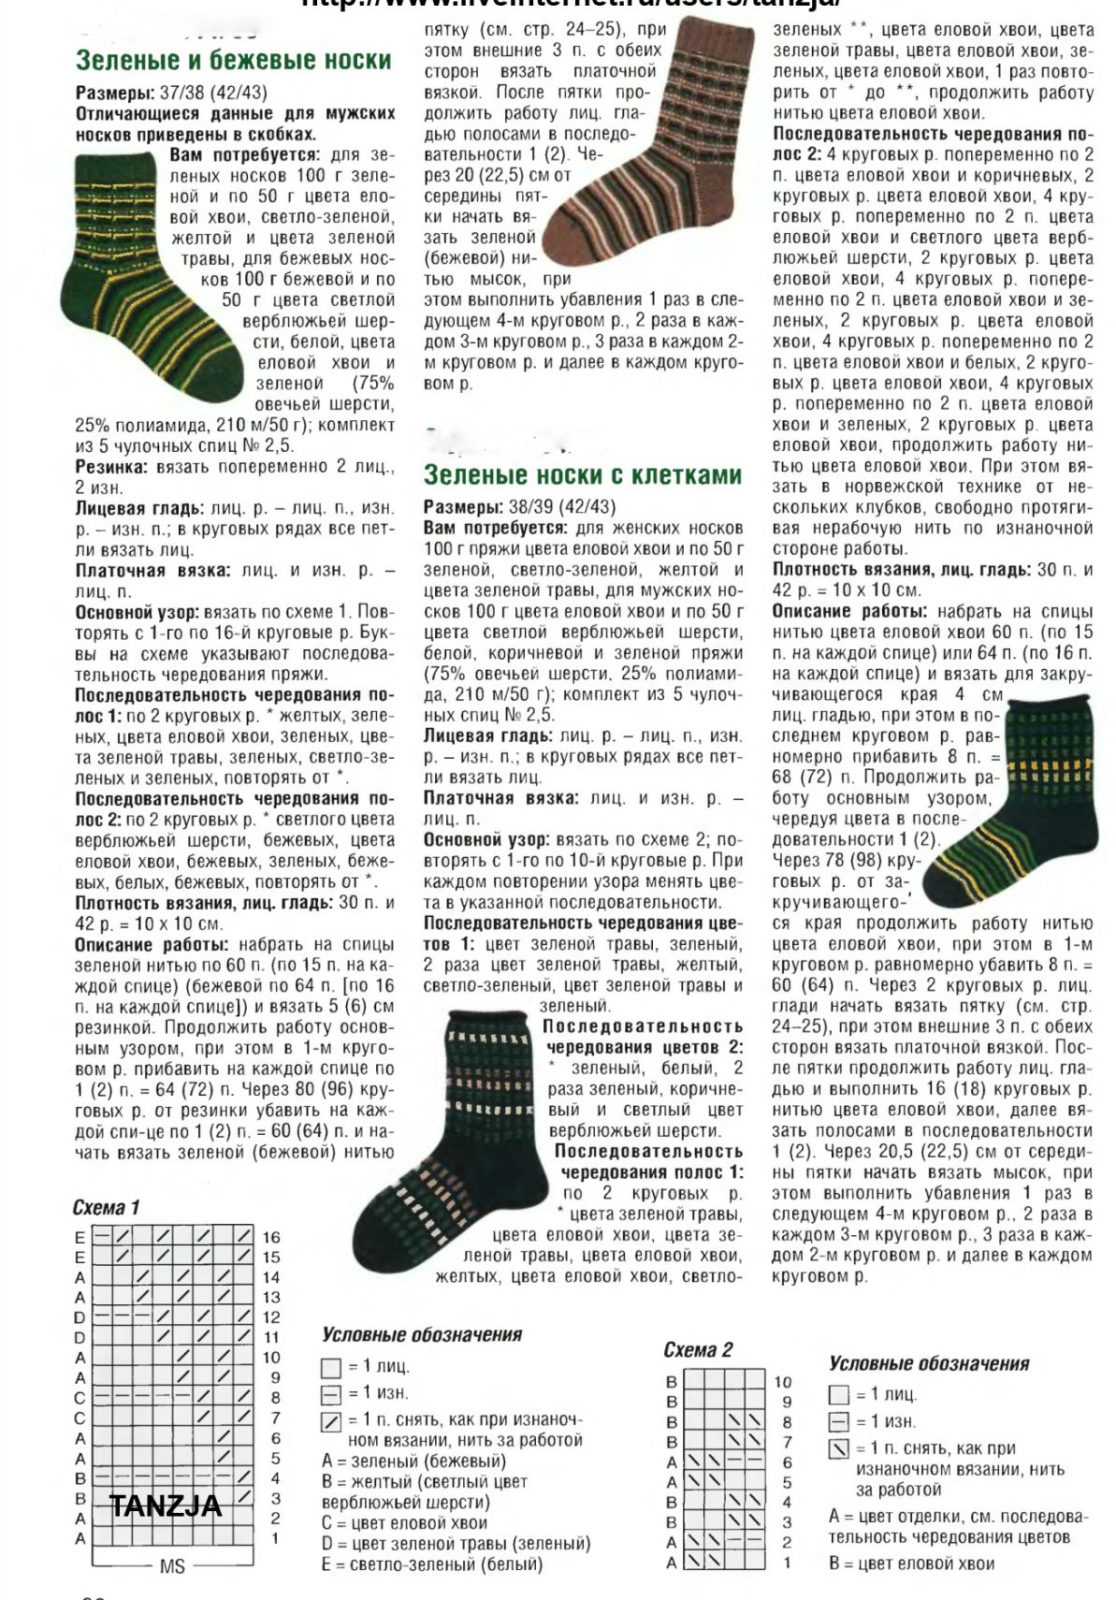
- Men's socks (for men with foot sizes 42 and over).
- Women's socks with a variety of patterns, high, or, on the contrary, short sports socks.
Agree, this hosiery variety is impressive! And you can create all this yourself, the main thing is to learn how to correctly calculate the loops, carefully knit the heel and toe, find a good, well-fitting model... After you master the simplest basics of knitting socks, you can create real masterpieces for yourself, your child, and the whole family.
What yarn is best for knitting socks?
Many novice craftswomen, starting to knit, often wonder what yarn is better to knit socks from? After all, I want this piece of clothing to be worn for a long time, and it was comfortable and warm in it.
- Wool socks... Very warm, but wear out quickly on the heel.
- Wool socks. Practical and soft.
- Yarn socks z the addition of down, angora, synthetic fibers... Such mixtures greatly strengthen the thread and make the product durable, warm and durable.
- Derevenka yarn socks with the addition of synthetic threads on the heel and toe.
How to knit socks for beginners: a step-by-step video with explanations
We have already told you a lot about socks, it remains to show how to knit socks for beginners: a step-by-step video will demonstrate everything in great detail. We wish you every success!