We make reflectors for subject shooting with your own hands
Using reflectors in the photo is a simple way to benefit from the light available to you and send it to various sections of your image. This can be done using any surface, which reflects the light, for example, a wall, mirror, cardboard, polystyrene or aluminum foil.
Reflectors used in photos can be represented in various colors, forms and sizes. Silver, golden, white, and there are so-called zebras - reflectors combining several common colors. There are sets of reflectors 5-B-1, which includes a black surface for light absorption and translucent - to mitigate light.
The form
The form of the reflector depends on the object you want to take a picture. The most used are circular reflectors, as they are easy to add and transport, but triangular and rectangular are also popular.
The size depends on the site that you need to highlight. And when it comes to small items, everything is not so simple, because standard reflectors are large enough to produce small spots of light. In this article, I will show you how to make small reflectors for desktop shooting with your own hands.
Materials
You can use the usual sheets of paper, fixing them on other subjects used as a holder, but this simple technique will definitely give you more control in the installation of reflectors.
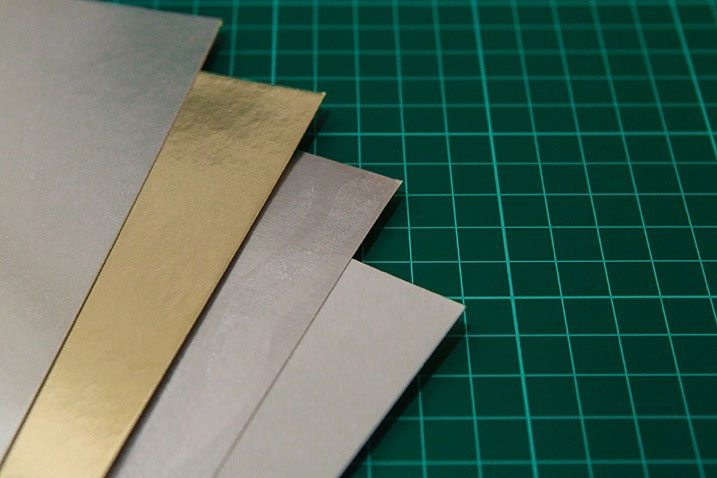
To begin with, you will need several sheets of metallized paper. That, which I will use, is sold in stationery stores or stores for needlework, it is available in different sizes and colors. I bought 50 × 70 cm sheets, or about 20 × 28 inches, which allowed me to make a great set of reflectors of different sizes and shapes.
Useful feature of this paper is that it is white on the back, so you can use a brilliant side or simply flip over to white to get another type of reflector. In addition to standard silver and golden, you can buy textural sheets for the special effects of light reflection.
Cut out by size
Now it's time to cut paper in size. It depends on the size of the reflector you want to do; In this case, I make a reflector measuring 8x13 cm (3 × 5 inches).
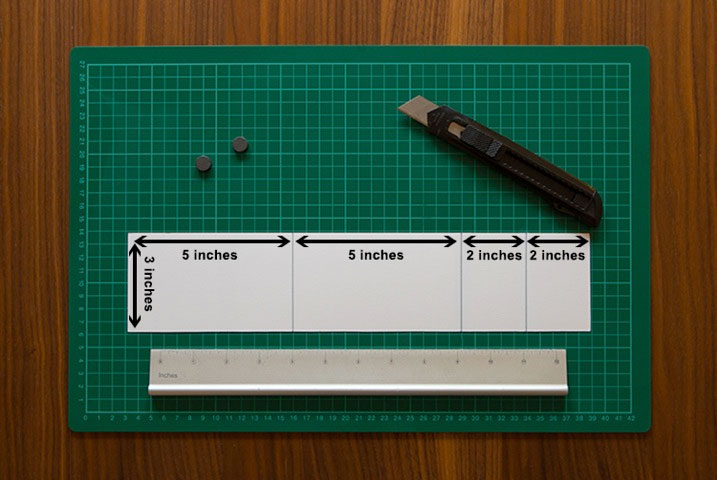
Now draw the line with a ballpoint pen and bend the paper on these lines. You will have something like that.
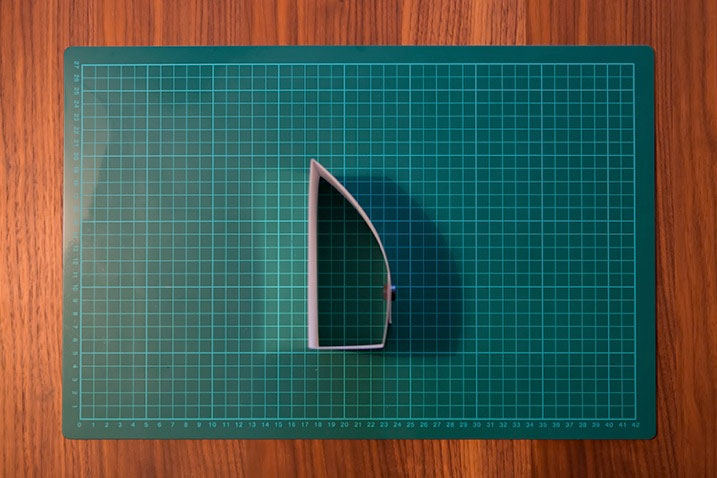
To secure intersecting edges from behind, I use magnets. You can use adhesive tape, velcro or even glue of reusable, but magnets will allow you to adjust the reflection angle when you are looking for the right direction of light.
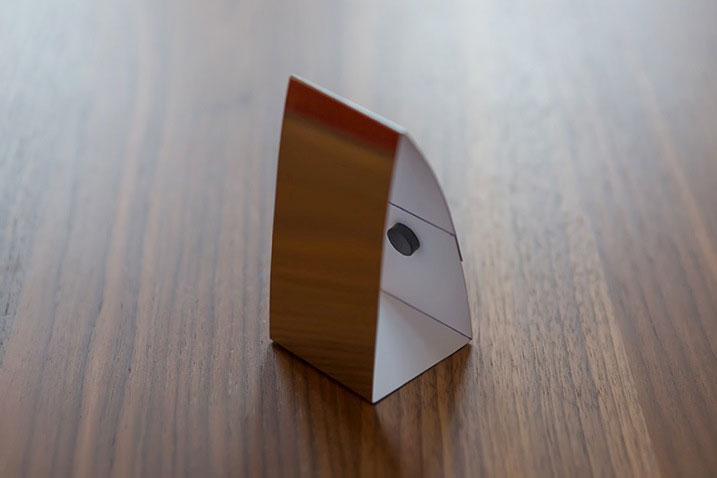
Magnets are also very useful if you use any holder for the reflector, and do not install it on the table.

Install reflectors
Now that we made some excellent reflectors, let's test them.
Throughout his career of a professional photographer, I used high quality lighting equipment, but I must say that I was always amazed that you can do with simple light from the window or a desktop lamp and a pair of reflectors. The following image is an example.
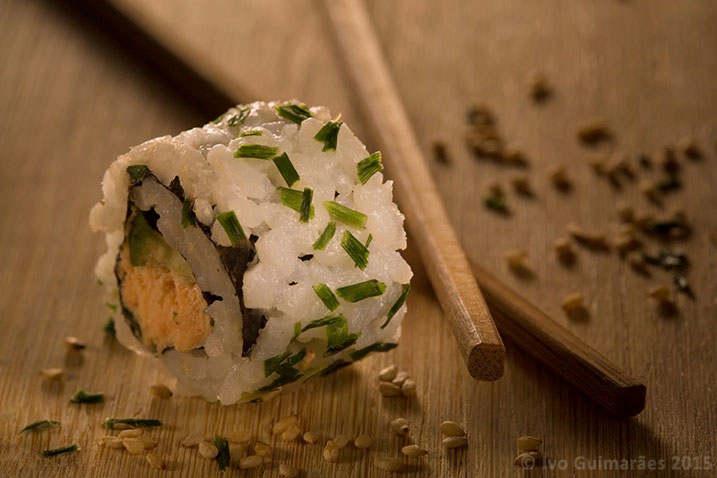
Here, as it was done:
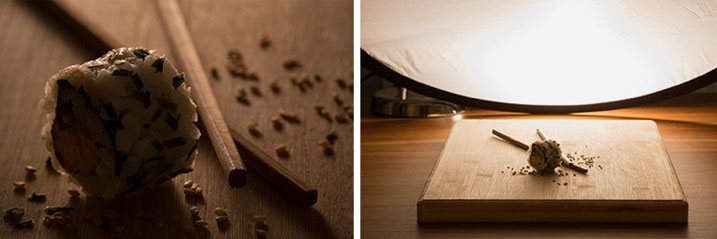
Start from the table lamp and the scatterer in the opposite light.
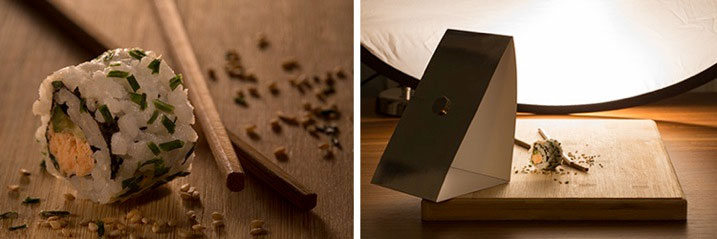
Now the same lamp with a diffuser plus reflector on the left.
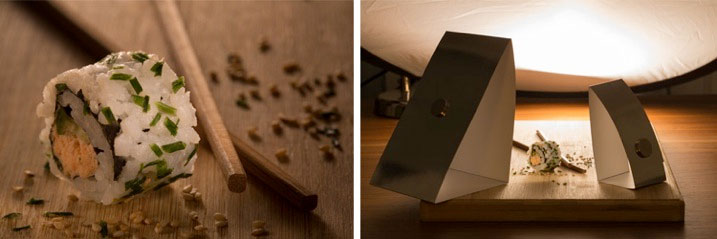
Now with another reflector on the right.
So, here is a simple and effective method that guaranteed to give you more control in the process of illumination of your pictures.
Try!